Beer can chicken is a fun and delicious recipe that is perfect for cooking on your Weber Kettle grill. The combination of smoke, chicken, and beer is always a winning combination! Cooking a whole bird evenly can be a bit of a challenge. That’s where beer can chicken comes in. By cooking the chicken in a vertical position with a partially opened can of beer inside the cavity, you can achieve perfectly cooked and flavorful chicken. In this post, we will go through the entire process of preparing and cooking beer can chicken, from brining and seasoning the bird to maintaining the ideal temperature during the cook. By the end, you’ll be a pro at making this tasty and unique dish on your Weber Kettle.
Beer can chicken involves placing a partially opened can of beer inside the cavity of the chicken and then cooking the bird in a vertical position. This helps the chicken cook evenly and allows for the flavors of the liquid to infuse into the meat. When smoking beer can chicken, maintain a temperature of around 300°F and cook to an internal temperature of 165°F in the breast and 175°F in the thigh. Allow it to rest for 10-15 minutes before slicing or shredding.
Key Points
- Beer can chicken is a fun recipe that allows for even cooking of the entire chicken by cooking it in a vertical position
- The ideal temperature for smoking beer can chicken is 300°F, and the total cook time is typically around 2 hours
- To prevent the chicken from drying out, consider injecting or soaking it in a brine, or using a dry brine by rubbing kosher salt into the chicken the night before cooking
- To get crispy skin on the chicken, make sure the skin is dry prior to smoking and avoid using a water pan or spritzing the chicken during the cook
- Once the chicken is cooked to an internal temperature of 165°F in the breast and 175°F in the thigh, allow it to rest for 10-15 minutes before slicing or shredding to allow the muscles to relax and reabsorb moisture
- To add flavor to the chicken, consider using a beer or root beer can, or injecting the bird with broth, stock, or marinade
Why Chicken Is A Challenge?
Chicken is troublesome because it has a large cavity, wings tips that burn, breasts that dry out, and thighs and legs which need to be cooked longer than other parts of the bird.
The Benefits Of Vertical Cooking
Cooking a chicken in a vertical position is a great way to get tender, juicy chicken. Amazon sells thrones and vertical chicken holders, which makes this recipe easier—but they’re unnecessary. All you need is a can or beer, or root beer.
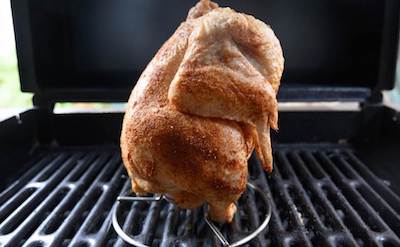
Get A Beer Can Rack
Beer can chicken can be a balancing act, and the bird can easily topple over. Amazon and barbecue stores sell chicken racks designed for beer can chicken. These racks will hold a can of beer perfectly and make the process much easier. However, you don’t need a special rack. You can just use a beer can. A rack will give the chicken more stability when cooking, because you don’t want it falling over—which happens.
You can get a simple chicken holder for around $10 on Amazon. Or, this beer can rack is safer to use, and more hygienic, however it costs about $25.

What Temperature To Smoke Beer Can Chicken?
The ideal temperature for smoking beer can chicken is 300° F. Any lower than this, the chicken skin will become soft and rubbery. You can cook chicken upwards of 300° F, but don’t go over 350° F or the chicken will dry out.
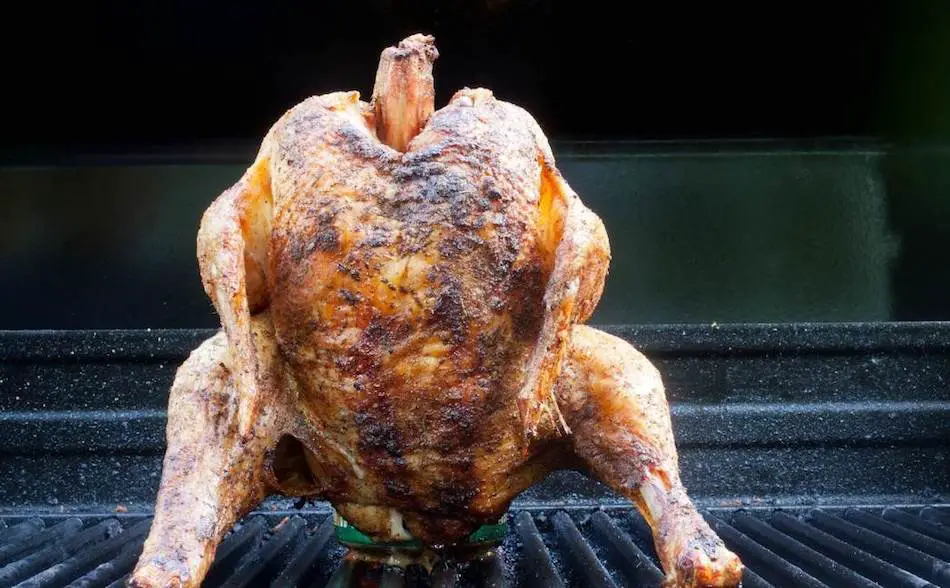
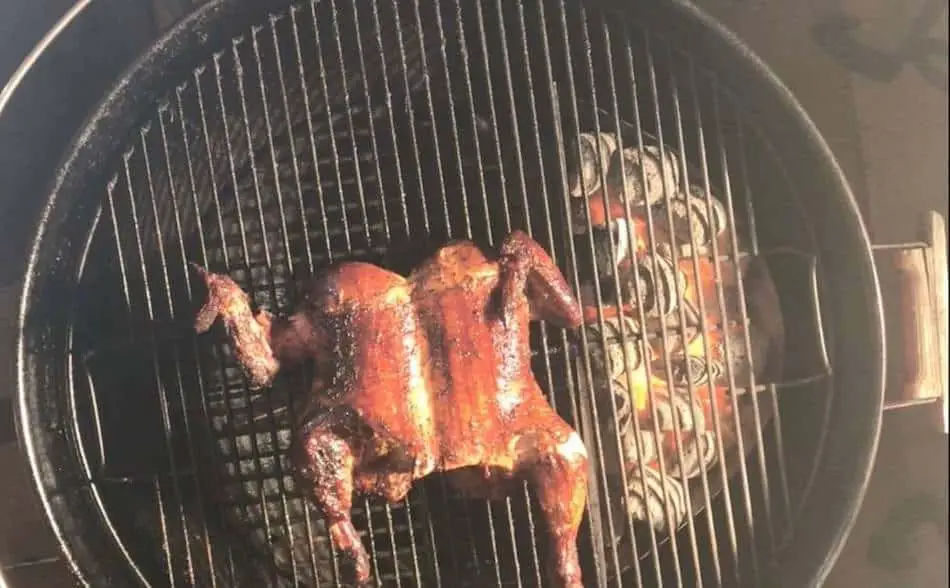
Beer Can Chicken On A Weber Kettle Grill
Beer can chicken is a classic barbecue recipe. Cooking the chicken upright allows the bird to cook evenly, and the beer will create steam to keep the meat nice and moist.
Ingredients
- 1 whole chicken
- 1 can of beer or root beer
- Barbecue rub or coarse salt and pepper.
- Olive oil
Instructions
How To Prepare The Chicken
- Rinse the chicken
- Trim excess fat and clean the cavity
- Apply olive oil to the chicken
- Cover the chicken in barbecue rub or salt and pepper. You can also add herbs.
- Take a can of beer and remove 1/4.
- Insert the beer can into the chicken cavity.
- * Optional: Pre-brine the chicken with kosher salt
How To Set Up Your Weber
- Take 115 charcoal briquettes
- Place 80 unlit charcoal briquettes to one side of your Kettle grill in a pile.
- Place the remaining charcoal briquettes (35) and place them in a charcoal starter.
- Wait until the 35 briquettes are fully lit.
- Lay the hot coals at one end of the unlit charcoal pile.
- Adjust the top vent of the Weber Kettle to half, and the bottom vent also to half.
- Wait about 20 minutes for the temperature to stabilize at 300° F. This setup will produce heat for about 2 to 2 and 1/2 hours.
- Once your Weber Kettle has stabilized at 300° F, place your bird on the grill (on the indirect side, or the “cool-zone”).
- Place a drip tray underneath the chicken.
- Insert an instant-read thermometer into the chicken thigh, if you want to monitor the temperature as you cook. Otherwise, probe the bird with an instant-read thermometer after about 1 hour of cooking.
- Cook the chicken until the internal temperature reaches 165° F in the breast, and 175° F in the thigh. This should take around 2 hours.
Nutrition Information:
Amount Per Serving: Calories: 186
How Long Does it Take to Cook Beer Can Chicken?
Allow around 2 hours to cook a beer can chicken on a Weber Kettle. Although total cook times will vary depending on the size of the bird, and cooking temperature. If you’re smoking at 300° F with a standard-sized chicken, it will take about 2 hours in total.
When Is The Chicken Done?
Chicken is done once the internal temperature reaches 165° F in the breast, and 175° F in the thigh. The breast meat is lean, so will be done sooner. The breast will dry out if you take it over 165° F. The legs and the thigh contain more fat and blood vessels, which is why they have more flavor and moisture. However, it’s best to take the thighs to 175° F.
Rest The Chicken
Once you’ve verified the temperature of your chicken with an instant-read thermometer, remove it from the Weber Kettle and allow it to rest for about 10 to 15 minutes. This will give the muscles time to relax and reabsorb some of that moisture. Never slice or shred a chicken immediately—otherwise it will dry out.
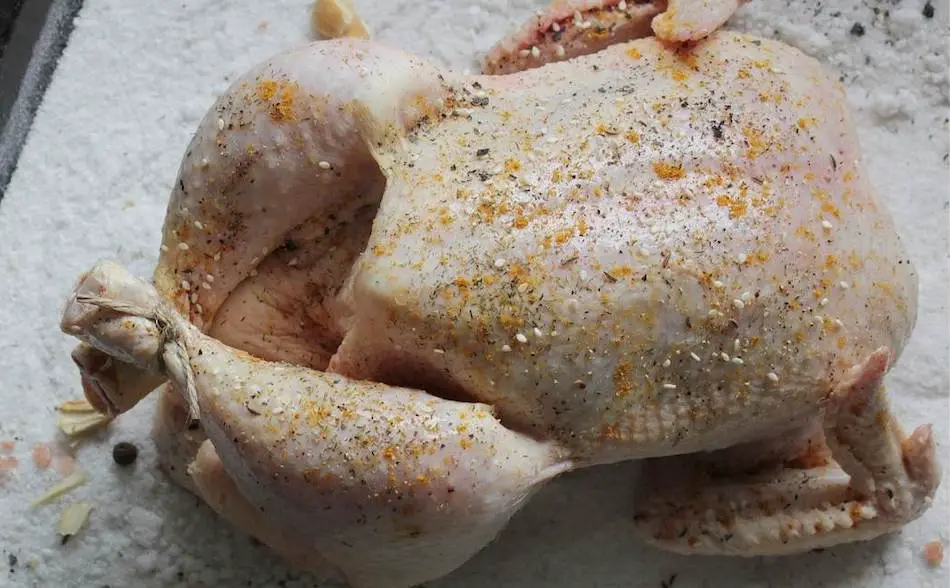
Preparing The Chicken
Once you’ve taken the chicken out of the packaging, run the bird under cold water. I always rinse chicken because I hate the smell after it’s opened. Trim any of any excess fat, and clean out the in cavity of any liver, giblets, etc.
Rub and Seasoning
Season the chicken with your favorite dry rub. Or, if you want to keep it simple, just go with salt and pepper rub. A Texas style rub is salt and pepper rub ( like Aaron Franklin would do), or you can use your favorite barbecue spice combination. For more information on homemade rubs for chicken, check out this article: Best Pre-Made and Homemade Rub Recipes For Chicken. If you want a pre-made rub, I highly recommend rubs by barbecue gurus Harry Soo or Malcolm Reed. Check out Harry’s chicken rub here, and Malcom’s Killer Hogs rub here.
To make a Texas style rub, use a 50/50 mix of course black pepper and kosher salt. You can also mix in a little paprika to add some color. For more of a savory taste, and some garlic powder and onion flakes. I’ve also written an article on Texas-style rubs. You can read it here.
When applying the rub, make sure you get a decent covering on the bird. If the rub doesn’t stick, you may need to use a binder because the chicken may be too dry. You can either wet the chicken, or slather the bird in olive oil.
Add Some Herbs
After you’ve applied the rub, you can also mix a few herbs when preparing the chicken. After you’ve applied the rub, sprinkle on a little parsley and oregano.
The Best Wood for Chicken
Fruit woods such as apple and cherry always work well with chicken, but pecan, oak and maple or any other smoking wood is fine. Strong smoking woods can overpower the chicken meat. So when choosing a wood, just keep in mind that poultry has a sensitive flesh.
I prefer to mix and match woods, and will often throw a little in a chunk of hickory with a chunk of apple or cherry. Hickory has a strong smoke flavor which can overpower chicken, so be careful. Also, avoid using mesquite. This Texas wood is an acquired taste and will make the chicken taste bitter if you’re not careful. With that said, don’t overthink wood choice too much—just use whatever you have. Chicken is a fast cook, so the meat will not be over-exposed to smoke for as long as a brisket!
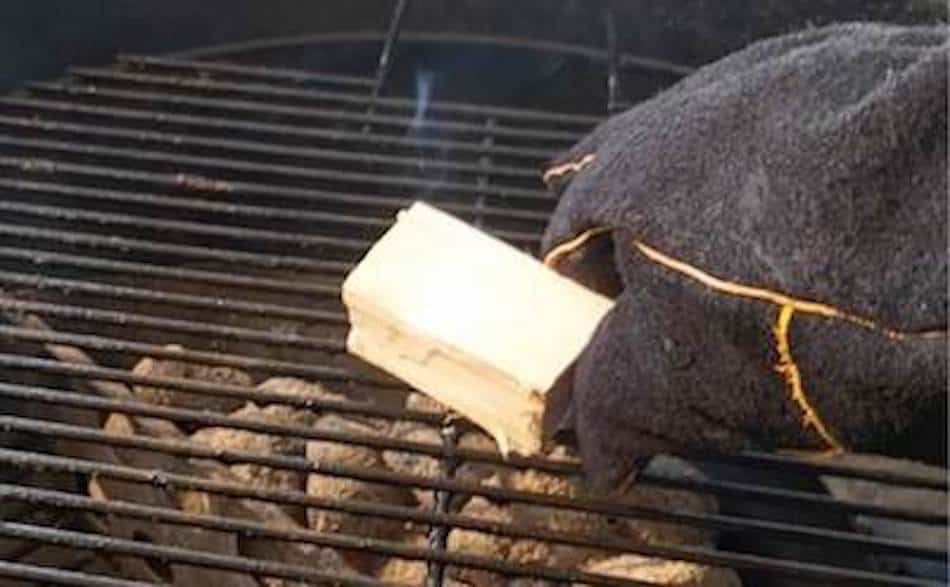
How To Lay Out The Wood
Depending on how you set up your coals, scatter the wood chunks where the fire will burn in the first few hours. Chicken is a fast cook, so you want to get the smoke flavor into the meat as soon as possible. You can either place your wood chunks directly onto the fire, or place the wood on the grill above the fire.
Indirect Cooking- The Hot-Zone and The Cool-Zone
When cooking beer can chicken on a Weber Kettle, make sure you use a two-zone setup. Whenever you’re smoking meat, it’s always best to cook with indirect heat.
How To Set Up Two-Zone Cooking
Set up the fire on one side of the kettle, and lay the chicken on the other side. Avoid cooking the chicken directly over the fire because it will burn the chicken and dried it out. Also, if you place the chicken over the coals, fat will drip onto the fire and produce bad smoke. Dripping fat will also fuel the fire and cause the temperature of your Weber to fluctuate.
Water Pan?
Place a water pan or a drip tray underneath the bird to catch all the fat drippings. I don’t always use a water pan—especially with chicken. I like to minimize the amount of steam so I get a crispy chicken skin. The extra moisture in the cooking chamber can make the skin go soft and rubbery. Also, a water pan will suck a lot of heat out of the Weber. Water pans are normally recommended, but they work best for longer cooks.
How To Prevent Chicken From Drying Out
One challenge with chicken is it can dry out easily—especially the breasts. There are several things you can do to ensure your bird doesn’t dry out.
Inject Or Soak The Chicken With Brine
Injecting or soaking the chicken in a brine prior to cooking can add some moisture and flavor to the meat. However, wet brines can make the chicken skin soft and rubbery. When I’m smoking poultry, I like to do everything in my power to get a crispy skin. I prefer to use a dry brine—which is simply rubbing kosher salt into the chicken the night before cooking. Sometimes I’ll also inject the bird with broth, stock, or marinade.
How To Make A Wet Brine
Salt is a great way to add extra flavor and moisture into the chicken. During the cooking process, the salt helps the chicken retain moisture. If you want to make a wet brine, all you need is to mix white sugar and salt in some water soak the bird overnight.
Inject The Chicken
If you’ve got a meat injector, don’t be afraid to use it on poultry. Chicken can dry out easily, so adding some extra moisture will only benefit the chicken.
I use a basic meat injector that I bought on Amazon for about $30. Inject the bird with stock, broth, or buy a competition marinade. Many barbecue competitors use products like Butcher BBQ’s Big Bird Booster. Dave Bouska, a World Barbecue Champion, produces this marinade. Dave makes amazing meat injection solutions for brisket and chicken. If you want to check them out, have a look at the Butcher BBQ store on Amazon.
How To Inject A Chicken
When injecting, make sure you inject the breasts more than other parts of the bird. Breasts dry out easily, so give them some extra moisture. Also, stick the needle into the legs and thighs until the bird has about 400 ml in total.
How To Get Crispy Skin On A Chicken
Here are a number of tips to ensure you get a crispy chicken skin every time. Beer can chicken creates a lot of steam, which can be bad if you love crispy skin. That’s not to say you can’t still get a nice crunch on your bird.
- One of the best ways to get a crispy skin on your chicken is to make sure the skin is dry prior to smoking.
- Avoid using wet brines, as this will contribute to soggy skin.
- Pat the bird dry with a paper towel prior to cooking because this will also prevent the skin from becoming soft.
- Avoid spritzing the chicken during the cook, as this can contribute to soft skin.
- During the cook, spray the bird with olive oil spray, which will aid with browning and help the skin crisp.
- If crispy skin is important, never cook chicken below 275° F, because it will be difficult to get a crispy skin in this temperature range. So make sure you set up your charcoals correctly, and have enough briquettes to maintain a stable 300° F temperature.